
Before 2019, SCreate was selling the drawing die measurement system in domestic market only. If you talked to any of drawing die manufacturers (Local or branch factory of oversea manufacturers ) in China, you will probably find they are one of the users of our measurement system, because around 95% drawing die factories in China are using SCreate instruments.
In this article, we will breakdown the unmatched designs and advantages of SCreate wire drawing die measurement systems, both basic measurement (P/N: DM100) and 3D profile measurement (P/N: DM300S).
1. Performance of course is the most concerned
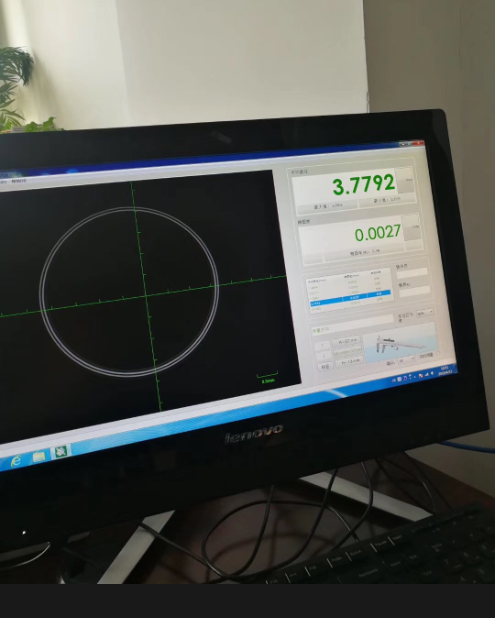
As a player in the drawing die industry, or a user of SCreate DM300, you may aware the bore area of drawing die is imaged as two circular rings, which so does with Conoptica:

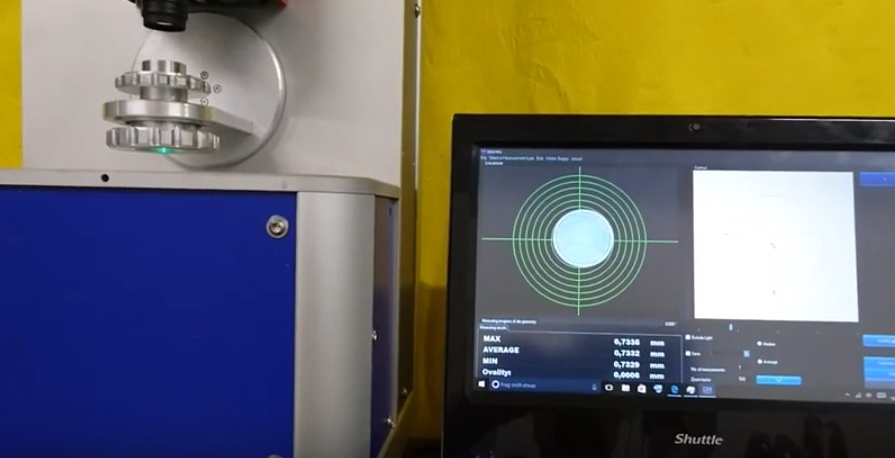
You also may find the bore area is displayed as round shape with other brands of measurement systems:

Obviously, the imaging technique that SCreate and Conoptica are using, are different with other systems. This technique provides advanced features as following:
1. Bearing length compensation, allows extremely high accuracy of measurement;
2. Higher dust tolerance on surface of objectives;
3. Using large DOF (depth of focus) objectives, which is essential part if you want a fast measurement system.
Watch video of the real-time drawing die basic measurement instrument, DM100:
And the drawing die 3D full profile measurement on DM300S, it takes unbeatable 8 seconds per measurement:
2. State-of-the-art hardware architecture design
1. Anti-disassembly housing, you will find no screw is used on our system housing.
2. Exclusively ‘Oil Sealed Turntable’. SCreate’s drawing die measurement system doesn’t need to open the housing and add lubrication every year.

3. The top worm and worm gear manufactured in Japan is equipped in SCreate drawing die measurement system, that allows the measure stage the accurate positioning performance.
4. Auto calibrate the light source brightness which ensure reliable performance.
5. Reliable performance while temperature changes in working range. In the operating temperature range, when it changes every 10℃, that only affects measurement 0.03%.
More amazing advantages of SCreate drawing die measurement systems worth your investment, the article to be continued on next week. We will be going to breakdown the details that most of users concerned:
Are my staffs able to operate on those instruments?
How about maintenance and calibration?
Stay tuned, see you next Thursday!